Back to Sidestreet Bannerworks
Click here to find out how your engine can be featured!
.

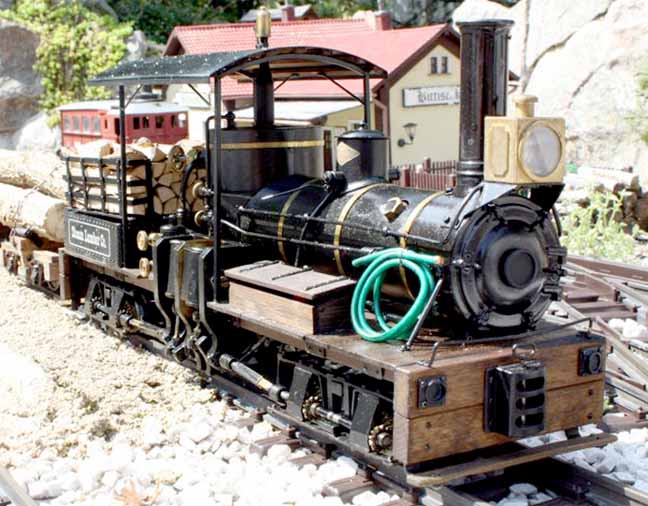
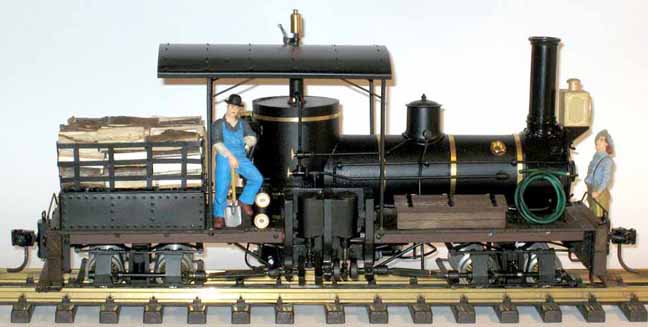
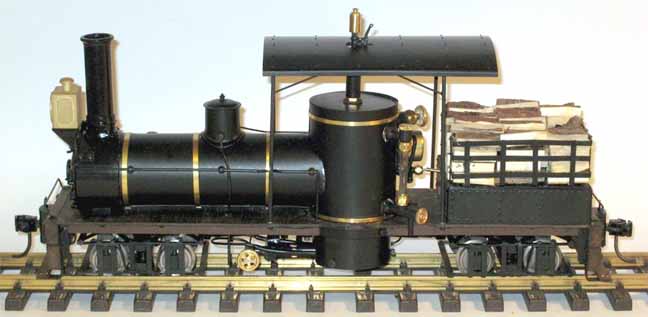
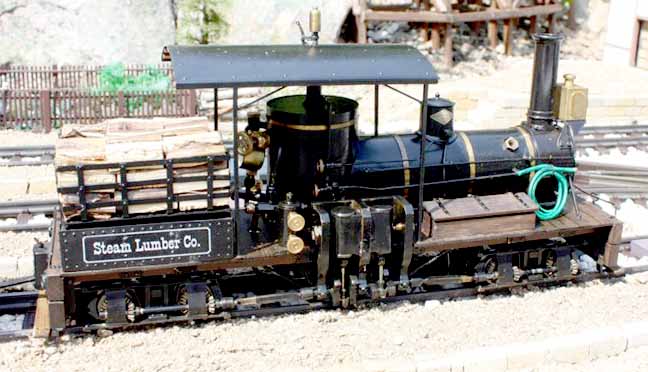
A scratchbuilt Shay
by Jiri Sajbrt
Czech Republic
Photos by the author
May, 2013
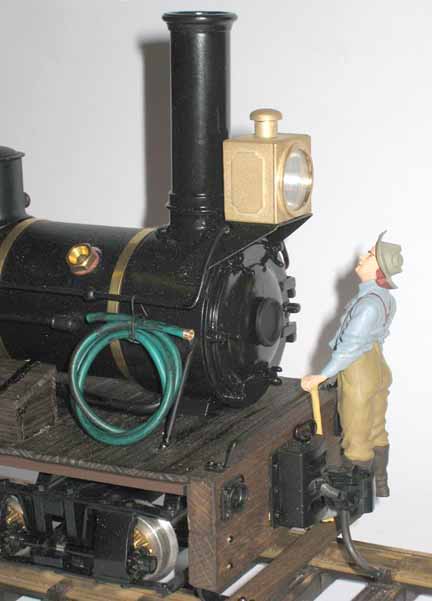
The running time on one fill is only about 10 minutes. This is because boiler of those engines have to be small. Refilling water and gas is possible with the engine sitting on the track. It's a fast process, only about 15-20 seconds.
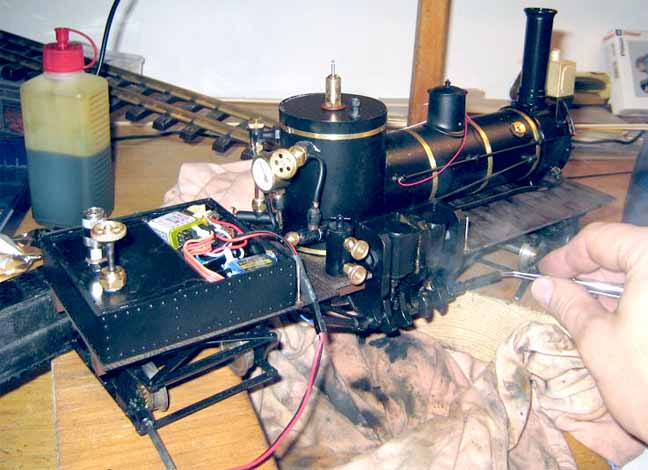
The engine is radio control, using a 2.4GHz radio that controls the rotary reversing valve (which controls direction and speed) and the whistle. The headlight is manually controlled via a switch under the wood pile.
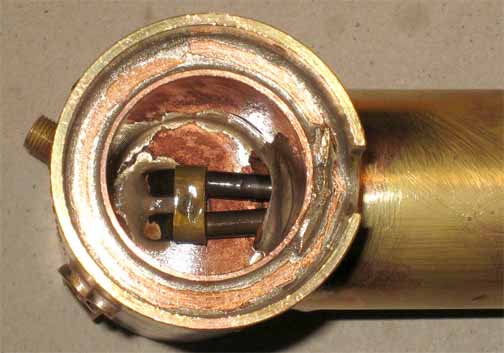
Many gas-fired engines have a problem with gas that remains liquid (after a short time, the temperature of the liquid gas in the tank goes down to the point that the gas won't vaporize). In my Shay, the liquid gas is taken from the bottom of the gas tank to a vaporizing pipe inside boiler. The vaporizing pipe is hot. The vaporized gas then continues through a regulator valve to the ceramic burner.
Below is a video of the engine at work. If, for some reason, you can't see it, click here.
|
|
|
| Builder | Jiri Sajbrt |
| Date completed | December 2010 |
| Gauge | 45 mm (can be adjusted to 32 mm) |
| Scale | 1:32 |
| Boiler type | T-type with water tubes and superheater; ceramic burner |
| Fittings | Steam regulator, whistle, water glass, safety valve, pressure gauge, water-feed valve |
| Blowoff pressure | 4 bar (60 psi) |
| Fuel | Butane |
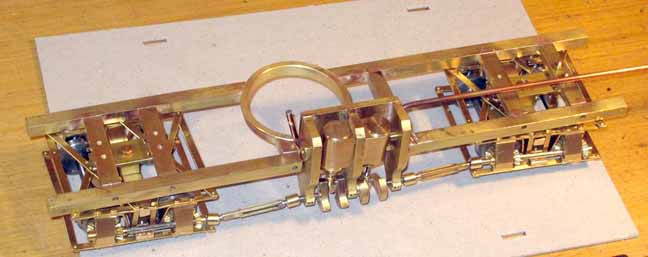
| Cylinders | Two, double-acting oscillators |
| Reversing gear | Rotary valve |
| Lubrication | Displacement |
| Dimensions | Length, 360mm; width, 90mm; height, 170mm |
| Weight | 3.1 kg without water & gas |
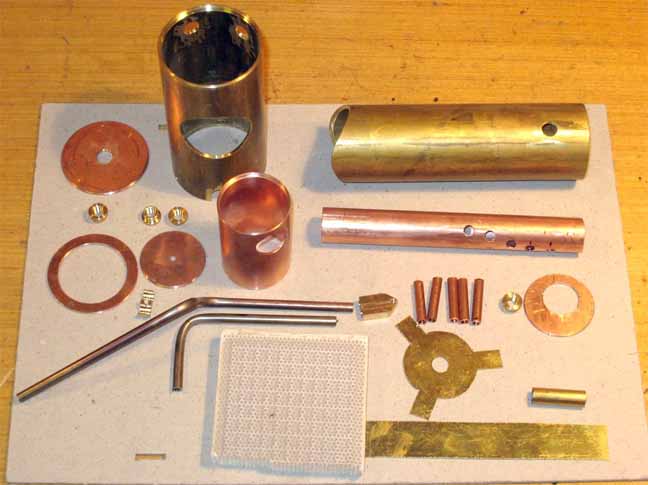

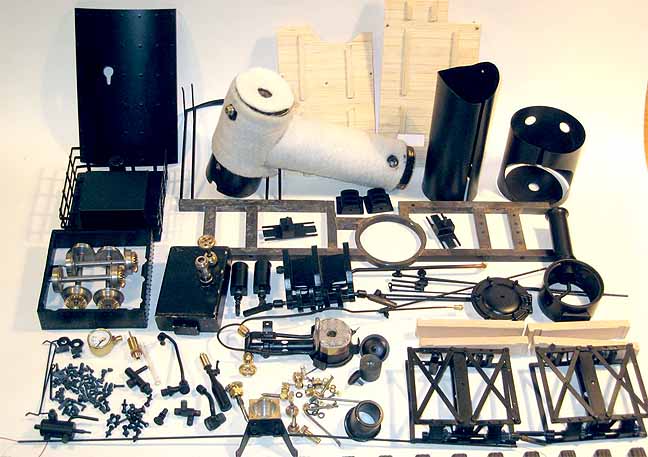
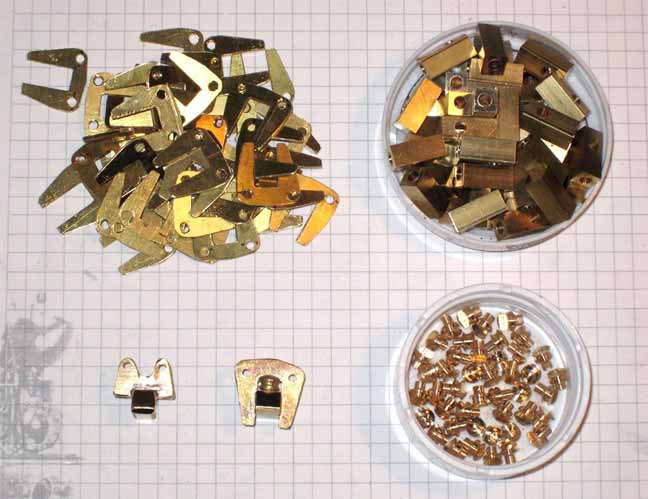
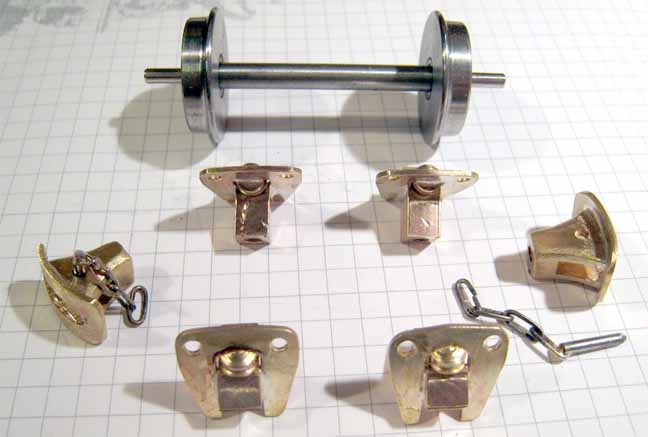
To see more photos of this engine under construction, visit the author's web site.
Back to Sidestreet Bannerworks
Click here to find out how your engine can be featured!
This page and its contents
Copyright Sidestreet Bannerworks, 2013